

With the sun taking its leave of our fair slice of the earth for the day, let us resume our exploration of night photography.
Part 1: Available Light
Part 3: Fire & Specialized Lighting
Class: Sign up for our in-depth workshop, May 23rd at Park Meadows!
As many articles on photography will tell you, searching for an introduction, the word photography translates literally to “drawing with light.” In that sense, the less light there is for the taking, the more pure the photography is. In our last look at night photography, we examined how a limited-light situation can change your approach. Today, we’ll look at controlled, creative ways you can introduce artificial light to your night photography, without hauling a whole lighting kit around in the dark.
Flashlights

The classic light painting tool would be, quite simply, a flashlight. The same principle that lets you create ghost photos (as discussed in part one) also lets you walk through the frame quickly and not appear at all. Narrow that aperture, make sure the frame is clear to you (or whomever it is that will be operating the light), and go wild! Any photographer’s bag should have at least one decent, powerful flashlight in it. That can be as simple as a small, less-than-$20 AAA-powered LED light, but stepping up to a more powerful light or even a rechargeable one can be the kind of investment that pays off in the long run. Many decent flashlights will have multiple operation modes, as well, like low-power, strobe, etc.

The labyrinth photo was created by turning a flashlight on and off, but this one involved moving a strobing flashlight around at varying speeds and angles.
So, what can you paint? You can create abstract wisps, as above…

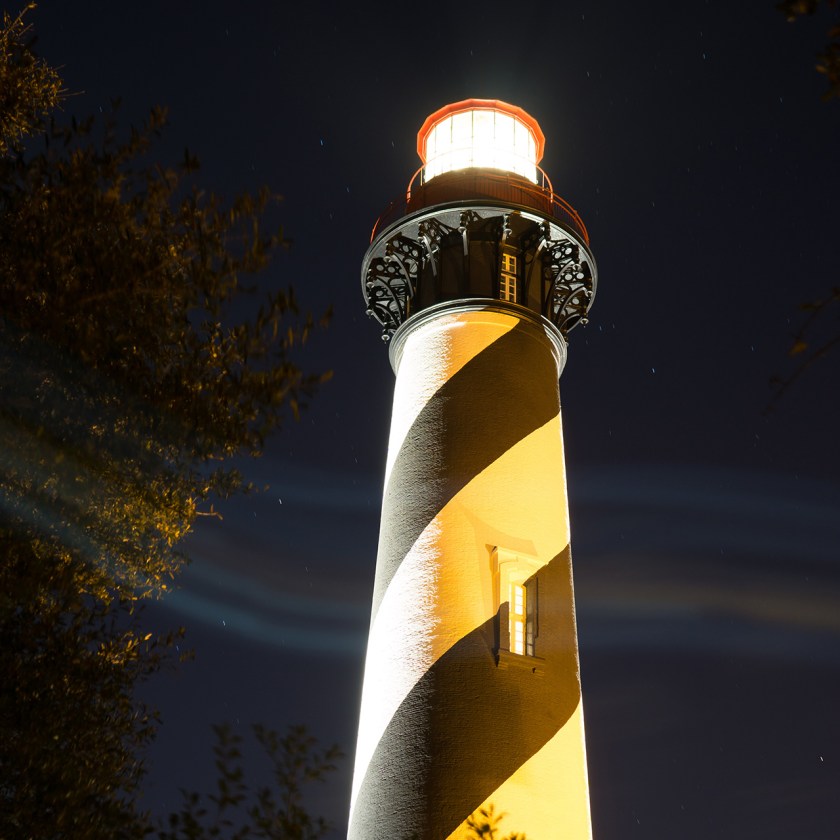
…add accents to your scene for a hyper-real effect (or a spooky one—see the photo at the top of the page)…

…or add something meaningful to make your photo say what you need it to say. This photo was made as a memorial to a close friend of my wife who passed away, and it’s been a comfort to many.
Shapes & colors—get creative!
Of course, you’re not limited to white lights. One of my favorite lights, the Nite-Ize Radiant 250 headlamp (available at Mike’s, just not online at the moment), adds a red light as well as a diffuse arrangement. Flash gels like this kit for the super-compact LitraTorch work wonderfully as well. (Note: I haven’t used that light, I just want to. You can make your own gels to fit any given light by cutting thin, colored plastic.) Another type of accessible colored lighting that works really well? Laser pointers!

You needn’t be limited by shape, either. Experiment with frames through which to shine your light. Stencils—homemade or from the craft store—can provide infinite entertainment with a suitably bright light. Make your own starry array, or just make things a little weirder.

You are not obligated to be in full control
While the point of adding artificial light to your night photography tends to be to more actively control your image, there is an odd middle ground between “available light” photography and strictly crafted photography than can be a rich place to play.
 I don’t remember what caused this effect, but it sure is cool! The magic of imaging is that what was probably someone wandering in the way of my shot turned out to look more like a gust of rainbow. An important part of any successful shoot is being open to the possibilities you don’t expect.
Finally, you don’t have to necessarily hold the colorful lights yourself to use them for great photos.

Bright neon business signs and amusement parks are time-tested photographic subjects. Someone has already spent thousands of dollars on awesome lighting, so why not try to use it in your own photography? Just remember that many others have probably taken a documentary-type eye-level photo, so if you want to stand out, you’ll need to think about your composition. My Lakeside photo, for example, would probably have been cooler from ground level much closer to the ride… but then we wouldn’t have gotten that sharp-looking sign in the photo!
Thanks for stopping by for day two of our series on night photography. If you’re enjoying this content, you’ll probably really enjoy our hands-on workshop, May 23rd! Click here to sign up for the class, and be sure you come back to the blog tomorrow for the thrilling, fiery conclusion!
One comment