I can still draw from memory the monsters that live on the wall at my parents’ house.
Books, movies, cartoons, and so on all tend to present clouds drifting in and out of formation as the perfect peg for an imaginative youngster to hang his or her hat on, but—looking back—I guess I was much more frequently fascinated by the knockdown texture in the drywall than the flighty and ephemeral clouds. (I only recently learned the proper word. It’s the kind of texture that looks a little like stucco.)

Maybe I just didn’t get outside enough, but I think a case could be made that there was a different kind of value attached to fixed abstract patterns from which I could summon figures at will. There was joy in finding new creatures, yes, but there was more joy in re-meeting the secret council I had already discovered, time and time again.
My point is not to suggest a concrete explanation for the appeal of abstract art, but rather to suggest a case for the staying power of a really rich texture. Heck, I still greet “cloud dragon rising from a mortuary slab” almost every time I visit my parents! Thus, your assignment this week is to seek out and capture pure texture. To put it another way, rather than imposing a pattern onto your subjects, remove the subjects from your pattern. This should be an easier task than it might sound… in fact, every photo in this post was taken over the course of a single day. The whole world is arranged according to (or contains) some kind of pattern; it’s just a matter of decontextualizing it and making your camera capture the pattern alone.
There are a few ways to eliminate the explicit subjects from your photographs. One of the best tools you can use is, of course, a macro lens—getting insanely close to a small detail is the quickest and most literal way to eliminate context and focus on texture alone. If you don’t have a true macro lens yet, you can also use close-up filters or, if your camera is sufficiently high-resolution, you can simply crop the image. (I used both the close focusing capabilities of my lenses and strategic crops to create the images in this post.) Distortion introduced by either the lens or atmospheric effects can help, too, so crank that aperture open wide or put yourself behind that warped piece of glass and see what happens!
As you’re considering the best way to physically isolate texture from your subject, experiment with your perspective. Look at how different these two photos are despite sharing a physical subject: one is a photo of bricks with an unusual texture, and the other is of an unusual texture that happens to be on bricks.


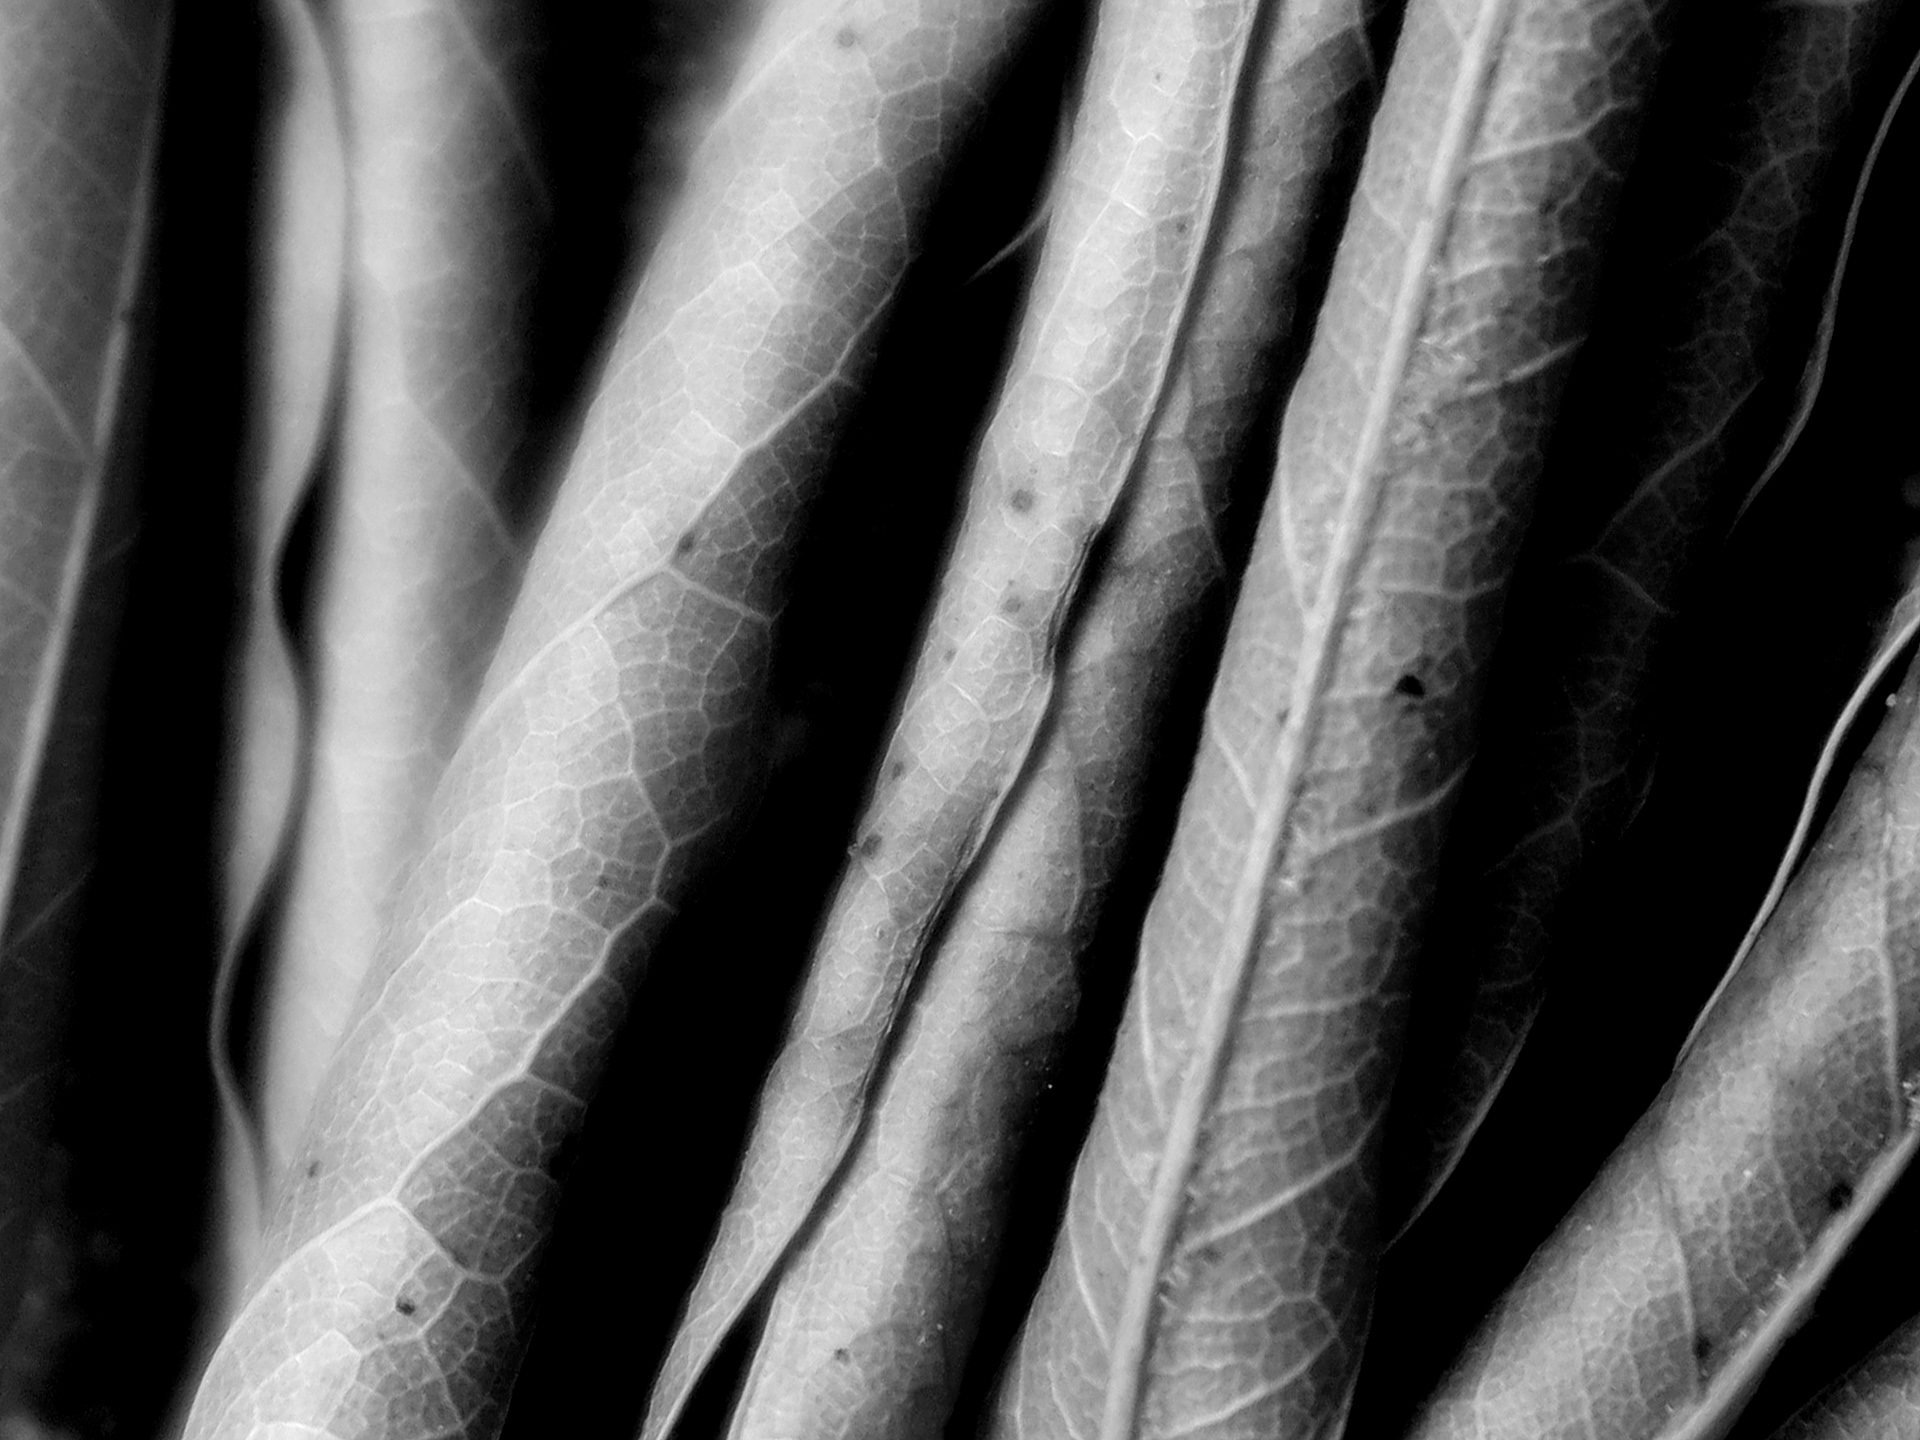
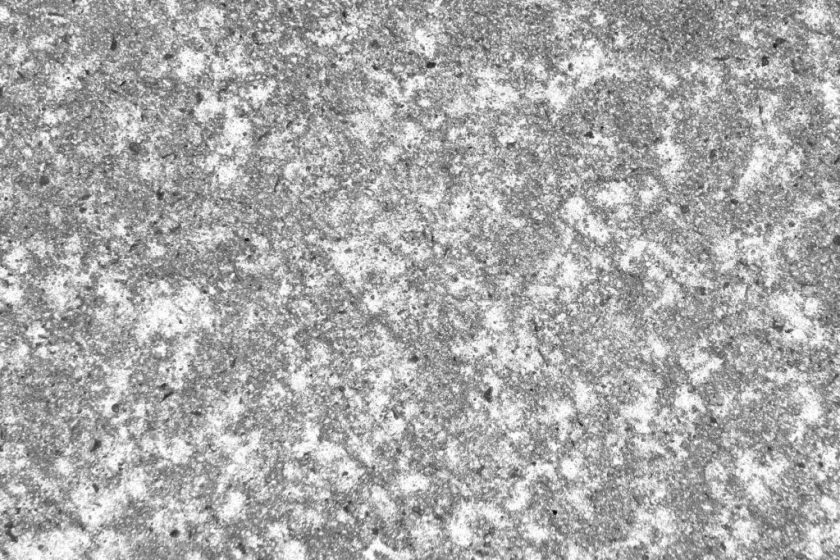
Another good way to isolate texture from the subject is to remove all that pesky, distracting color. An ultra-high-contrast black and white photo can present familiar subjects so abstractly as to be unrecognizable. If you like the way something feels texturally but can’t see past the actual object in the photos you’re getting, removing the color might just be the right move. Look at how the veins pop on the image of leaves, below left, and how alien a simple patch of forest dirt can become, below right.

The other extreme can be equally effective, depending on your subject. We live in a vibrantly colorful world, but context frequently dulls the perceptual impact of those colors. Try to turn off your preconceptions and spot particularly bright subjects, then take full advantage by isolating them in your frame and/or increasing the saturation of your photos significantly. These photos were of a rusting dumpster which was easy to gloss over as “just a dumpster,” but which was covered with delightful, photo-worthy textures nonetheless.


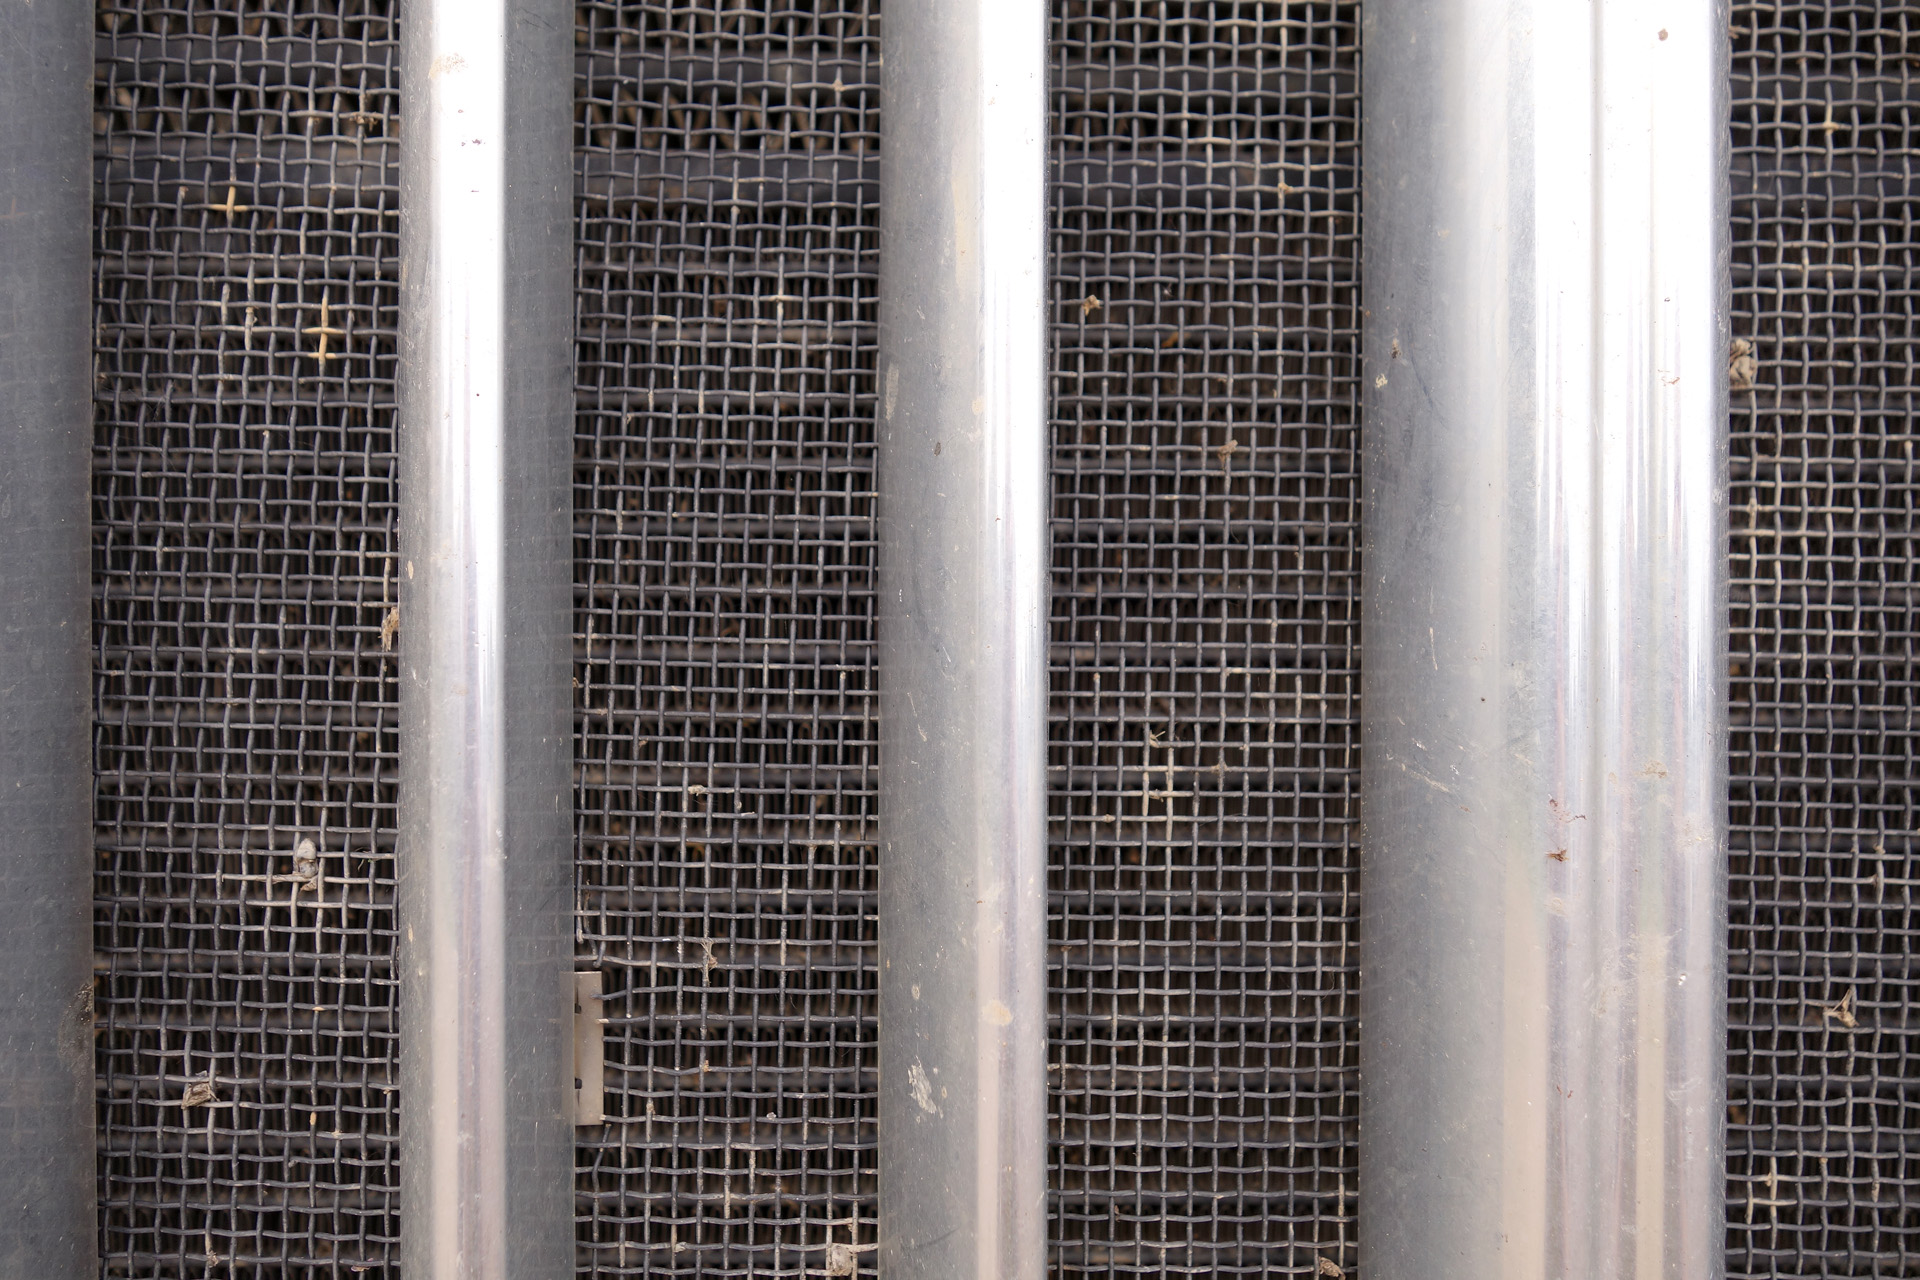
Protip: arranging a photo to remove the identifiable subject doesn’t mean abandoning all of the rules of photographic composition. Check out how the photo below exemplifies the rule of thirds, with one piece of the pattern clearly marked into a 1/3 section and the remaining section split along 1/3 of the other axis.

Extra credit: Create clipping mask fodder
If you’re not fully convinced of the artistic potential of purely textural photographs in and of themselves, they also make for a great resource in design work. There’s an option to create something called a “clipping mask” in Photoshop (CC, Elements, and older versions) which can enable really effective, practical usage of a textural effect. (Similar functions are available in other editing programs as well.) One layer is defined as an overlay and another is defined as the shape on which it is visible, and the two are combined digitally.
First, let’s create our stock texture for use elsewhere. I’ll desaturate this photo of sidewalk concrete, then crank up the contrast to make the structure pop.

Next, let’s look at this logo design and think about spicing it up.

We’ll try patterning a section of the design with the texture organically obtained from the pattern in the concrete. First I’ll place the texture as a layer over the shape I want to fill with it, then I’ll right click it and select “create clipping mask.”


You can edit the way the final result looks by moving or scaling the layer containing the texture. It’s not just an effect for shapes, either—it works equally well on text! As with the circle above, simply place the textural layer one level above the textual layer, right click, and select “create clipping mask.”

It’s astounding to imagine what would have been required to achieve the same result even twenty years ago. Take advantage of our fortune and have fun!
I’ve added a few more images below to get your creative juices flowing. Whether you’re enjoying texture for its own sake or giving it a role in something more complicated, we’d love to see your favorite results. Be sure to share them on our Facebook page or on Instagram tagged with #mymikescamera #halfweekhomework!